
We get enquries all the time about artists looking for work or help with architectural visualization. In the Digital Age, home planning isn’t just the blueprint of your house but also the architectural design and layout of the end goal. Hence, architectural visualisation has come a long way from manually made scale models to computer aided realistic 3D renders.
Table of Contents
What is Architectural Visualisation?
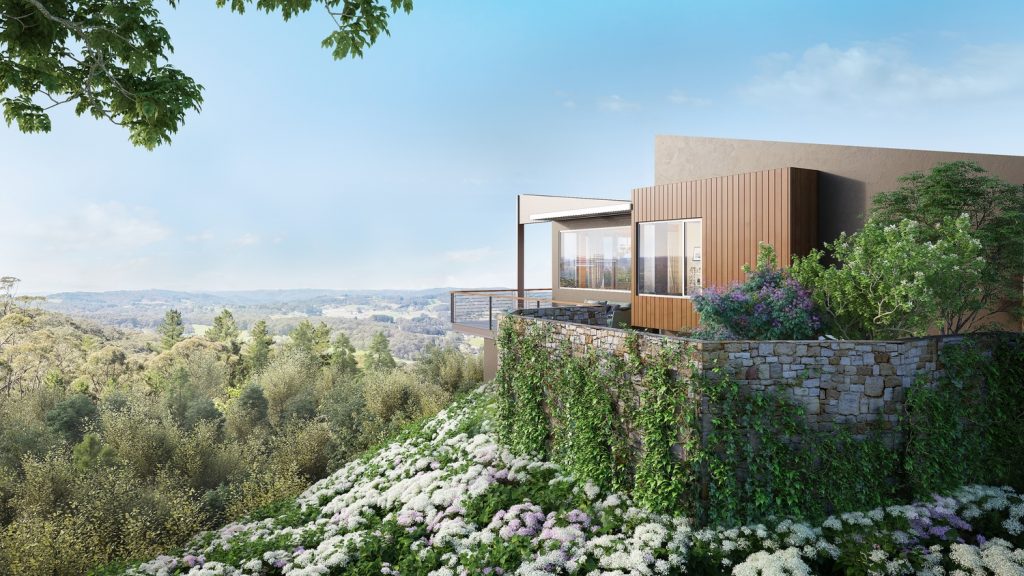
Architecture visualisation or “archviz” is the presentation or image of the end product of a building for clients and stakeholders to give them a visual insight of what they would be getting at the end of the project. It helps them visualise the house or building that they want to make even before construction.
Nowadays, the best way to produce visuals is through the use of computer applications, as well as 3D modelling and rendering, for a faster and achievable work process. Newer BIM software usually comes with basic furniture & fixtures models and have a basic inbuilt lighting and rendering engine that can help both the client and builder. However, to get photo realism, more advanced models and software is needed to be used.
Benefits of Architecture Visualisation:
- Quick turn-around time compared to scale models
- Makes life easier for artists, architects and engineers
- Can input all the clients, builders, engineers, architects and designers’ ideas in the render
- Flexible in making changes
- Effective marketing tool that sells projects quickly
Software used:
A lot of applications are available in the market for architects, engineers and artists out there, with the commonly used Autodesk softwares (3ds Max, Revit, Auto CAD), V-Ray, SketchUp, etc., even including Adobe products (Photoshop, Illustrator, After Effects) for post-production. But the usual most common working software combos for photo realism are 3ds Max, V-Ray and Photoshop.
- 3ds Max is the industry standard for architectural visualisation wherein it comes complete with modelling and setting up scenes. This is where you create the base of your design, from basic objects like vases or chairs to complex scenery.
- V-Ray – V-Ray has become the industry standard and most preferred by 3D artists because of its quick realistic renders. It can also handle heavy-weight rendering compared to mental ray.
- Adobe Products are also the industry standard in any editing and design industry, hence the use of Photoshop and After Effects for post-production in the architectural industry. Photoshop helps to composite images as well as correct/enhance lighting and color. While After Effects is used for videos and animations like animated 3D walkthroughs of building and their interiors.
Other popular applications:
- AutoCAD – this is the top choice and the usual application relied on by engineers, architects, and builders for their design and drafting needs. This is then imported to 3dsmax or another 3d modeling software to make the model of the building.
- SketchUp – is also a popular application among architects with its easy to use features for 3d engineering layouts, architecture, interior designs, video game graphics, and even for films.
- Blender – also a popular choice for rendering softwares since, not only is it free, it’s also a powerful rendering tool with a community of users to help you out.
- Corona – nothing beats the realism that Corona produces in its renders, but its down side is its slow processing which really makes you wait. However, we predict that this engine will be very common in the future.
Best Arch Viz Plugins for 3ds Max
- Floor Generator – for floor tiles and wooden boards that can be customized.
- ATiles – for roofing like tiles and corrugated iron.
- Grow FX – this is a unique tool for modelling plants, trees and other vegetation, which can also be animated.
- Forest Pack – vegetation can be tedious to make, but with this plug-in, it scatters trees and plants even on large surfaces.
- MultiScatter – just like Forest Pack, this plug-in is also useful for exterior scenes with repetitive elements.
Architectural Visualisation Basic Process:
Rendervision.com.au gives a brief step by step process on how arch viz projects are worked through:
Step 1: Technical Brief – this is the initial stage of communicating with clients, getting their ideas through rough sketches or picture inspirations for better visualisation of the end goal. Artists should also communicate with the clients what they will be getting from the project as well as clear misconceptions on “artists impressions” of the layout versus actual construction.
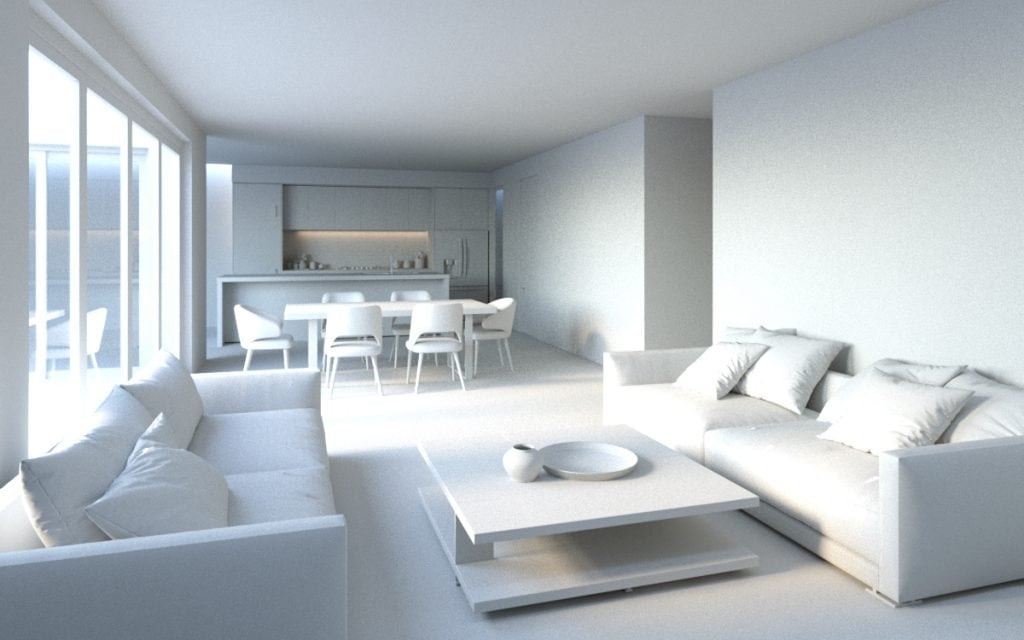
Step 2: 3D Modelling – the base of the project are 3D models and it is at this process where they are made. This is a black and white, no texture “skeletal structure” that serves as your geometrical guides to walls, doors, and other furniture to achieve a realistic look when layered with your patterns and textures.
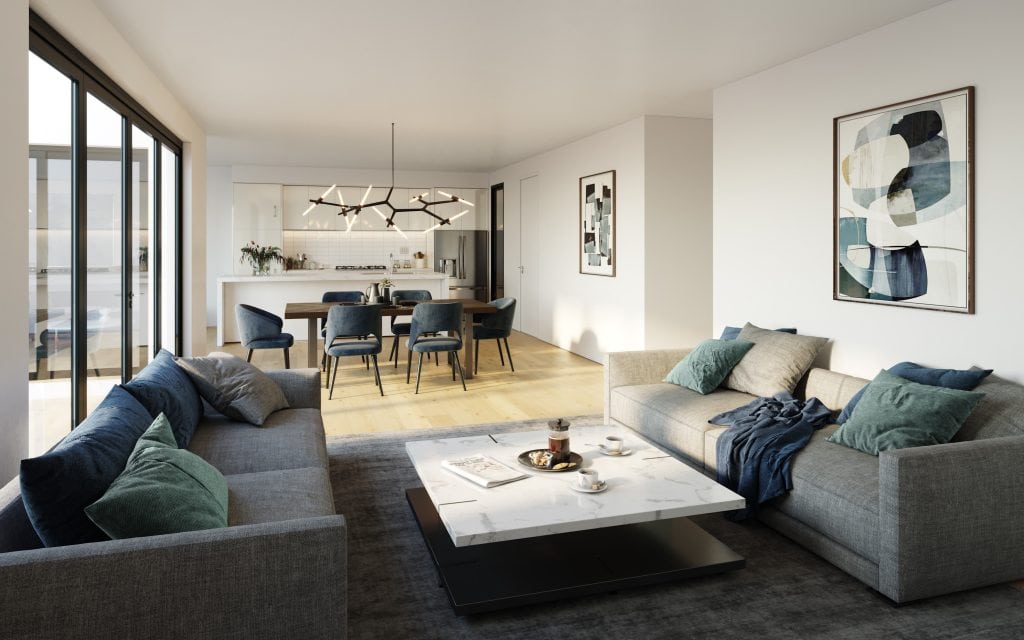
Step 3: Rendering and Texturing – this is a crucial step in the process wherein the 3D models become realistic 3D images through the details that are added. Artists recommend that setting up the project should be like a photographer’s art with the following in mind:
- Lighting – while this sets the time of day in which the project is viewed, it also sets the mood for the viewers to visibly get the feel of the design. Proper lighting should also be observed with the usual three (3) angle lighting system: key light (the main light source, fill light, and back light.
- Composition and Staging – placements of the furniture should complement the camera angles in the image. The perspective or view should be realistic, just like taking a photograph.
- Texturing – getting more details in the models through colors and textures that blend with the light, angle and set up of the image.
- Rendering – where the magic begins, turning the 3D models to 3D renders that mimic real life and blends with its surroundings.
Step 4: Post-Production – After the image is rendered, this is where corrections and effects are made. Sometimes, additional lightings are included, colors are corrected, or a background is added to the render.
Step 5: Delivery – delivery, assessment and acceptance of the work.
Tips and Guides:
- Always communicate with your client to get all his/ her ideas and avoid/ minimise revisions.
- Be realistic in presentation. Since realism is the goal, check the angles, lighting, perspective and object size in your renders.
- 3D Artists always recommend that your computer is up to these kinds of tasks (i.e. Intel Core i5 or higher, 8gb RAM, 4gb free space).
- There are a lot of furniture and vegetation models in the market if you need a quick and reusable model for your designs and save you time.
- Be creative. It’s not necessary that you know all of the softwares, as long as you deliver the client’s needs using an application you’re comfortable with then you’re good to go.